Showing posts with label recycling. Show all posts

Thursday, August 8, 2013

Thrifty Thursday! DIY No-Sew Recycled Clothing Wall Pockets

I had this idea pop into my head this morning... to use the breast pocket of a men's shirt to make another version of a no-sew embroidery hoop wall pocket!  (I'm sure I'm not the first person to have this idea, but I still think it's pretty cool!)


 It's ridiculously simple.  Find a piece of old clothing with a pocket, place it how you want it in the embroidery hoop, tighten the screw, and cut of the excess fabric around the edges!  Ta-da! 


The size of the hoop depends on the size/style of the clothing item or the look you're going for (if you'll notice, I did something different with the jeans pocket).  I used a 9 inch diameter hoop for the shirt pockets.  I used a smaller size for the jeans, since it was a bigger pocket and I was experimenting with a different style for the pocket.


This is a great way to save a piece of clothing with sentimental value... like your dad's or grandfather's old shirt... and turn it into some functional wall art.  Or if you don't have any shirts/jeans lying around ready for crafting, you can just hit up your local thrift store!  (all my embroidery hoops are from the thrift store as well!)

Enjoy!


Sunday, June 24, 2012

Instagram Sunday: Boxes of Neckties Birthday Present

So...what did my mom give me for my birthday?...
Two photo boxes full of neckties.
My reaction?...
I was thrilled!

Oddly enough, it was one of my favorite birthday gifts!  I can't wait to start making these ties into things!
Not only did Mom give me the ties (which were given to her by a co-worker), she gave me an idea for a craft to do with them!...mini purses for cell phones, mp3 players, or cameras.  She saw the idea on Pinterest.  Mom and craft show customers have suggested before that I make small, cell phone purses that look like monsters.  And these ties will be perfect!  I look forward to crafting with them!
(The funny thing is that ties that would typically be considered hideous as ties will make the best purses!)

Monday, June 27, 2011

Make It Monday: Recycled Coffee Cup Post-It Notepads

I did a "guest post" over at my mom's blog for a tutorial for making her Post-It notepads using recycled coffee cups.

She has so many cool, crafty ideas, but she "hates blogging" because she never knows how to format the posts... so she gave me posting access to her blog...so I kind of act as her "personal blogger" sometimes! (and write the posts as if I'm her) But even though I wrote the post, the work, directions, and most of the photos are all hers. I just tweak the wording a bit, take a couple extra photos, and edit it all together into a comprehensive blog post!
Anyway...please go check it out and leave her some nice comments! And if you make your own coffee cup Post-It notepad, be sure to take some pictures and blog about it, or put them in your Flickr, and post a link in your comment!

Thursday, January 6, 2011

Knox the Fox

I've finally finished my second fox! (Well, I finished him on Saturday, but have finally gotten around to doing a photo shoot). I promise that, unlike the first fox, I will not be keeping this one for myself. It will be available in my Etsy shop.

After looking at a few pictures of actual foxes, I decided to give this fox some black "socks" like real foxes do. Although I think to be completely accurate, I would have needed to make his ears black too. But that's okay...I have creative license...foxes don't stand upright either.


I'm wanting to start a "Woodland Creatures" series. I currently have a raccoon in the works (he's just waiting for his arms and tail). After the raccoon, I'd like to do a badger. And after the badger...I'm not sure. I have lots of ideas and have gotten some good ideas and suggestions from friends and Facebook fans though...hedgehog, groundhog, squirrel, bird, deer, beaver, rabbit...the list can go on and on!

Saturday, January 1, 2011

Ethan's Rocket Ship

I found out that my friend's son had his 4th birthday today (I always forget that his birthday is January 1st). I also found out that he was sick today and they weren't going to be able to really celebrate his birthday today. Feeling bad for the little guy, I decided that I wanted to make something to cheer him up. He's all about rocket ships (any toy that remotely resembles a rocket is a "rocket ship!" to him), so I whipped up this little rocket ship for him this morning out of sweater scraps and felt.

He was too grumpy to be really excited about it when I stopped over to give it to him, but his mom reassured me by letting me know he'd be snuggling with it and playing with it later.


* (Oh yeah...Happy New Year!)

Thursday, September 16, 2010

Foxy Moxy

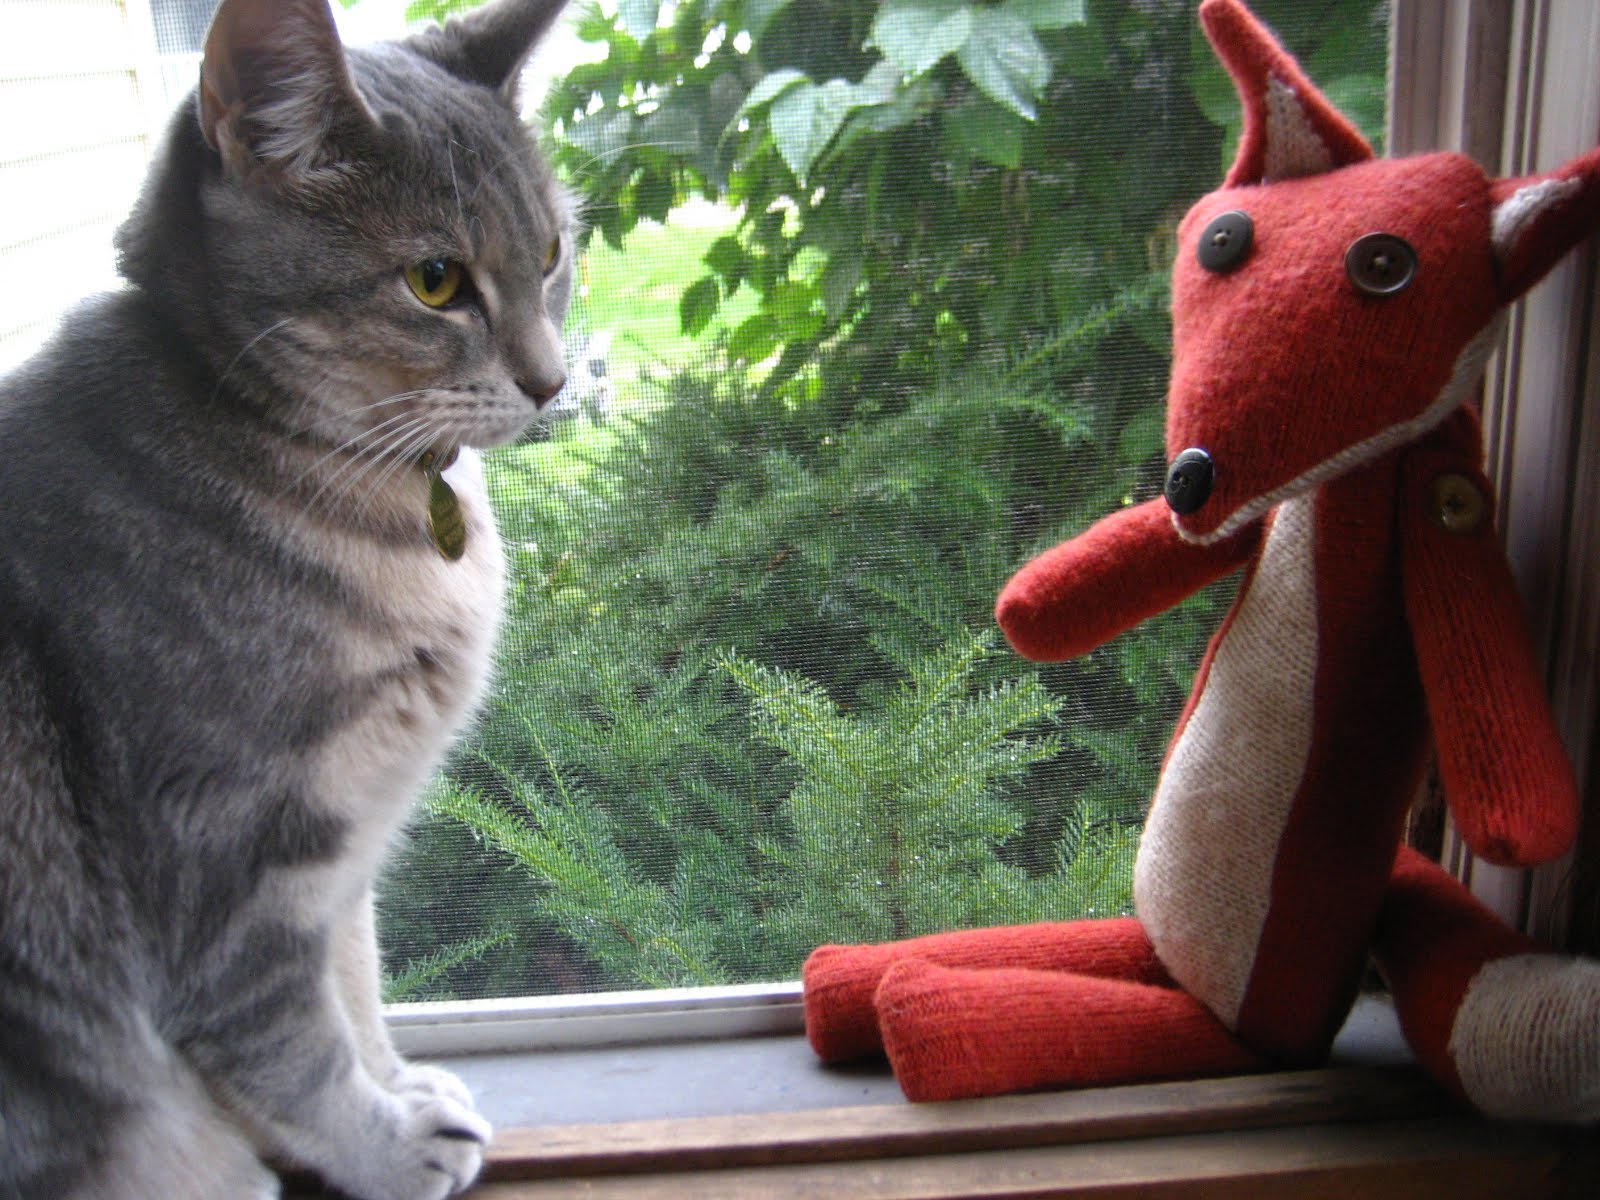
Meet my newest creation, Foxy Moxy ("Moxy" for short). I saw a fox doll in my new "Sew Me, Love Me" book and decided I wanted to try my hand at making a fox...

I had the perfect material in my mind to make it too. I got a bag of sweaters and scraps from a friend last year and I still had the remnants of the perfect soft, rusty orange colored sweater. I've used it for other projects, and I still have some pieces left (maybe enough to make another fox?) But I'm kind of dreading when it's all gone. I wish I had yards more of this soft, orange, knitted, felted material.


Moxy turned out so cute that I just may not be able to part with it! Sorry folks, this Moxy fox probably won't be making it into the shop any time soon. Of course I have this habit of keeping my favorite plush for myself for awhile, but sometime (it could be months and months later) I'll be packing for a craft show or just cleaning the studio and decide it's time to sell a particular critter I've been keeping. I actually feel kind of bad for wanting to keep this for myself, since it's really such a great doll (if I do say so myself!). It's the type of doll that you can see a kid drag everywhere and not be able to go to sleep without.

Terra decided to come investigate while I was trying to photograph.

But then when I tried to get a better picture of her investigating, she decided not to cooperate.

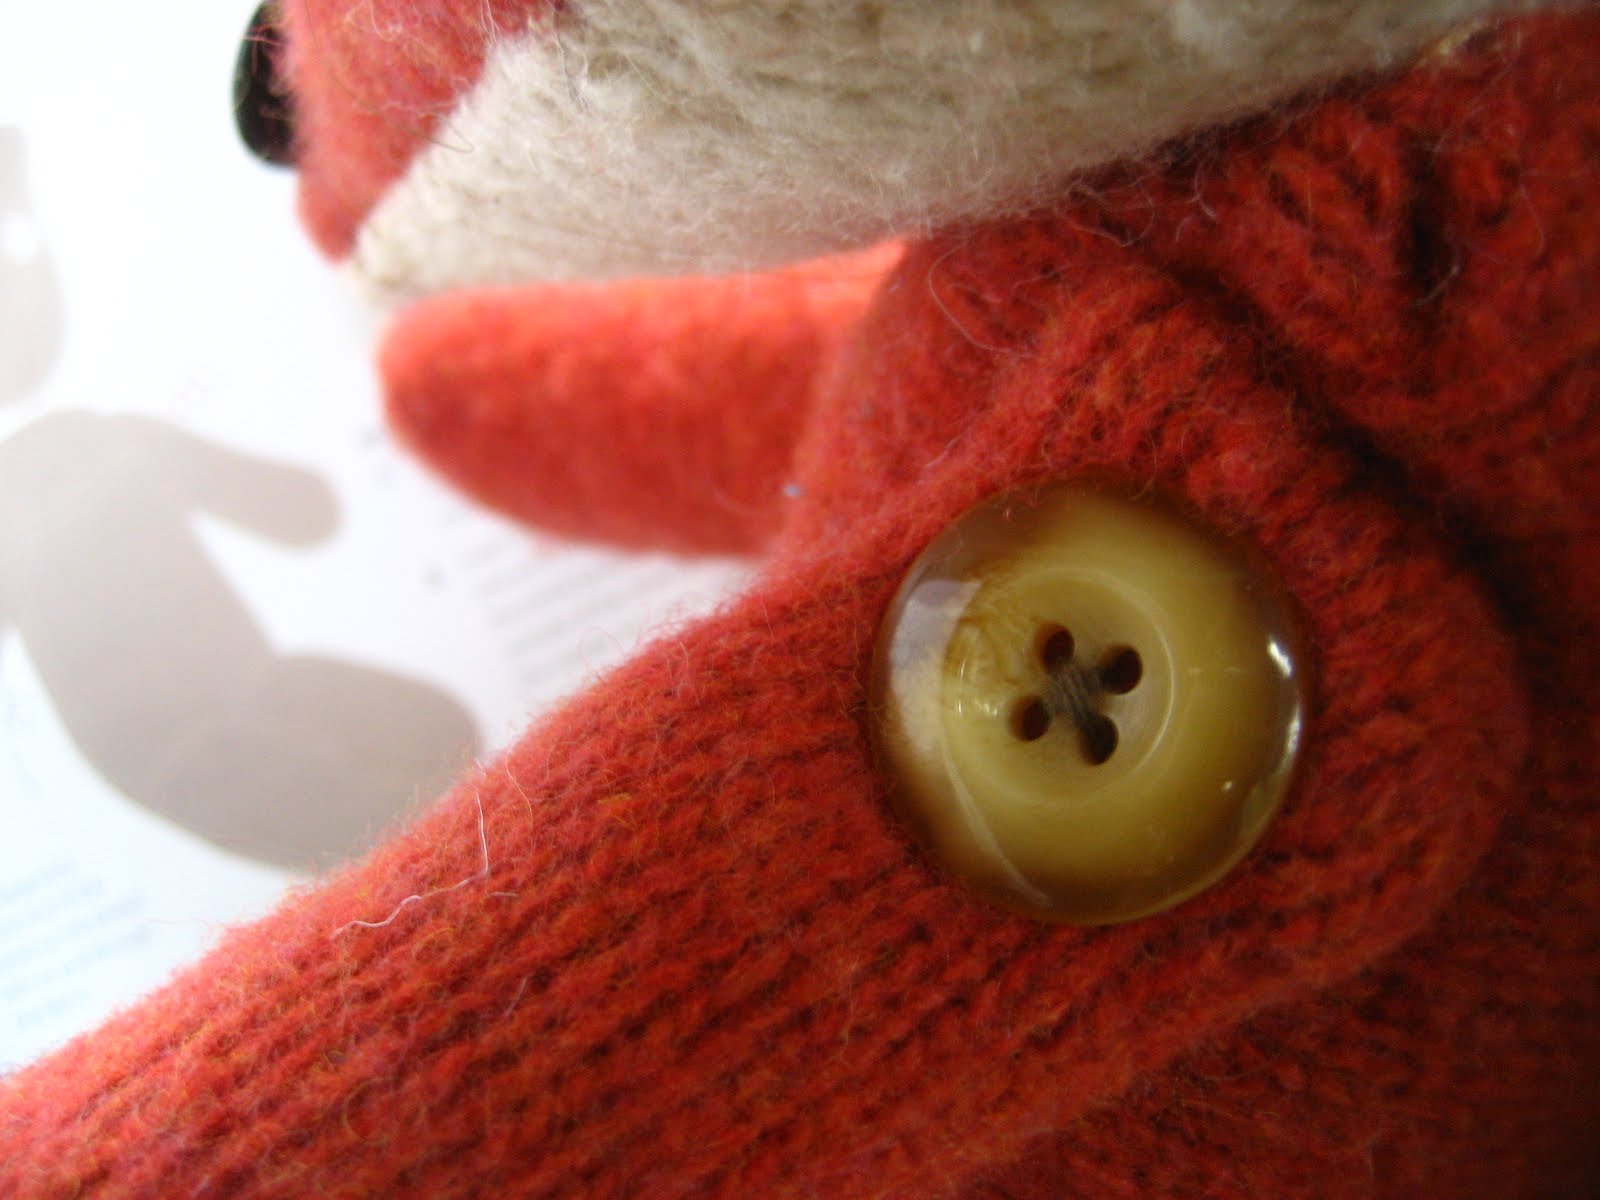
This was my first time attempting to attach arms with buttons. It's a cute technique and definitely gives that old-school, vintage kind of style that I'm finding myself more and more drawn to. I'm convinced living in a 100 year old house and being in farm and Amish country is what's done it.
But I also have family roots in farm country and a Great Aunt who was very much a handmade kind of woman. Oh, how I wish Aunt Grandma was still alive. Of course, she was 82 when she died when I was 11. I'm now 28. So if she was still alive, she'd be 99. I believe and know her soul is in heaven now, but I kind of feel like I carry on her spirit. (does that make sense?)

Anyway...wow...when did this simple plush blog post about a cute fox I made turn into super-duper family nostalgia that brings me to tears? (seriously...I cried while writing that last paragraph!) I have a whole bunch of other related thoughts that aren't making it out yet...like how I really love and appreciate my still living Grandma (who reads my blog...Hi Grandma! I LOVE you!)

Anyway...moving on. I got the inspiration for the button-arm attachment technique from the "Sew Me, Love Me" book too...

Out of all the books I looked at and considered buying that day at Joann's, I'm glad I decided to get this one. I ended up being able to order some of the others from other libraries and have had time to look them over, but I like the one I bought the best. I'm not sure what it is. I think it's that whole vintage and recycled feel it has, whereas the other books are a bit more sleek and modern. I still like them, and wouldn't mind having them, but I'm glad I made the choice and bought the book I did.


For the record...I promise I did NOT copy the fox project in the book! I just remembered glimpsing a fox in the book with a triangular head and wanting to make one. I figured out the "pattern" myself. I didn't even remember that there was a tutorial for a fox! Sorry, I just felt the need to clarify! ;)

Friday, May 7, 2010

Back to my plush-making roots...

I noticed that I've been using store-bought fleece a lot to make my monsters (although I usually try to only buy the remnant pieces in the 50% off bin at Joann's). But I have bins and bins of socks and clothes that I've saved to make monsters with...so I've been trying to get back to my original plush-making roots lately by repurposing those socks & clothing to make my monsters...

This guy is from an old fleece I had lying around. One of my favorite things is making pocket mouths...especially with zippers!


This gal is a pretty simple monster. My favorite part about her is her long hair. I envision her as an eccentric, hippie art teacher. All she's missing is a long funky necklace and tie-dye.

(Sorry if the pictures are a little blurry. I was trying to snap some quick pictures of these two monsters before the craft show tomorrow in case they sell. I need to set up a photo shoot area again in my craft room with decent lighting and a tripod for the camera. )

Wednesday, January 20, 2010

Orange Seam Mouth Monster

We inturrupt your regularly scheduled pocket-mouth monsters for this seam-mouth monster...

He kind of looks a little grumpy to me, but in that cute kind of way. Or maybe it's a neutral face, but I'm just thinking he's grumpy? Does that mean that I'm grumpy? I don't think I'm grumpy...
Maybe he's like those people whose neutral face looks like they're grumpy (you know the kind of people I mean!)

(That seam was the existing shoulder seam of a sweater.)

Friday, January 15, 2010

Yet Another Big Mouthed Gremlin Sweater Monster

I told you I was on a sweater monster making streak! After the last one, I just had to do another big-mouthed monster...


And yes...once again, his mouth is a pocket. (I have a thing for making pocket mouths lately).

Saturday, December 26, 2009

Orange & Blue Sweater Monsters

I love using the orange,navy blue, and grey color combination! This first guy got a mustache because I saw that orange scrap and decided it looked like a mustache!

He looks Scottish to me (I think it's the big orange/red mustache). I can imagine him having a Scottish accent. I wish I had some appropriately plaid fabric so I could make him a kilt!


I've had the pieces cut out for this guy for awhile, but only recently sewed him up. He found a home quick...I sold him at the Presence on the Patio show.

Tuesday, May 5, 2009

Recycled Earth Day Nubbins

So...here's some Earth Day Nubbins that are made out of some more appropriate, repurposed materials, rather than store-bought fleece.

If you like them, let me know and I can make some more, but these particular Nubbins are already spoken for.

This green Nubbin is made out of inside-out sweatshirt material, with denim and green khaki material for the earth. I think the nubby green material makes it look like he's mossy.


Now, just to be clear I'm no eco-warrior or anything. "Going Green" is not my purpose in life. I'm not all about"honoring Mother Earth". I believe that the Earth is all going to pass away and burn up someday, and no amount of recycling is going to change that. This world is not my home and I look forward to a greater kingdom.
BUT I do believe in being a good steward and taking care what God has given us, not being wasteful, and appreciating and respecting His creation. Because His creation is beautiful...but I'm not going to worship it. I worship the Creator.

Sunday, March 22, 2009

Monster of the Day...Patchwork Monster

I've mentioned that my husband and I are planning on buying a house this summer. So in trying to prepare myself for packing up my household, I have been going through my disaster-area of a craft room and trying to sift through all my supplies...deciding on what is worth keeping, knowing I will have to move it when we get a house. I was going through my box o' scraps and made this little guy made out of corduroy scraps. (I love corduroy!)


The "M" is for Mary. My friend saw this monster as I was finishing it up at church last week (closing it up and adding the eyes), and she wanted to buy it to give to her friend (named Mary) who was coming to visit her this week. So she asked if I could add a little pocket on with an "M" on it...and, gladly, I obliged.

Tuesday, March 17, 2009

Art From Junk: Audio Cassette Tapes

I randomly decided yesterday to make an art piece out of random junk I've had lying around the house. My husband and I are talking about buying a house this summer...so I am in the mindset of cleaning out. Which means going through and clearing out all the random stuff I tend to hoard to use as "craft supplies". I have such a hard time throwing anything away! Case in point...cool art piece made from junk. But I figure if I actually MAKE stuff from the junk NOW....that I won't need to MOVE it all LATER. Well, it'll be moving (unless I sell it), but it will be a piece of art and not random componants that contriute to being part of boxes & bins & piles of junk.


Now I'm no uber-enviromentalist or eco-freak, I just hate being wasteful. My protest to my husband is usually "But I can USE that for SOMETHING!" It's the curse of being an artist. I know it's got to drive him crazy sometimes, but he loves me anyway!

I love the idea of making something cool from stuff that most people would throw away. This is my first piece I've done like this. This is made of scrap wood (much cheaper that canvas!...like...FREE), some old mesh screen that I picked up off the curb once a while ago (also free), and some old audio cassette tapes I found yesterday. And of course...paint. And some hot glue. And screws (which were unfortunately too long and stick out the back...so I either need to figure out how to cut off the pointy ends sticking out the back...cover them with something...or just redo it with smaller screws).

The tapes were ones I knew I wouldn't be listening to again, like mix tapes I'd made back before I had a CD player in my car. None of the tapes were pre-recorded ones. Even though cassettes are practically obsolete, I can't bear to destroy a pre-recorded one. One of the ones I found was a Rainbow Brite song tape. Rainbow Brite! You think I could put that on E-bay? Some 80's nostalgia nut might want it right? Others I found were some of my "nature story" tapes I used to listen to as a child...like Peter Cottontail. Those I am most definitely keepng. Aunt Grandma gave me those. I'm curious if they exist on CD or if I'm going to have to have my husband or father transfer them from the cassette to CD (or mp3).


How many people ou there still have cassette tape players? I have one in my car (in addition to a CD player) and one on a small CD/Cassette/Radio boom box. Right now I use the tape deck in my car to play my iPod...through one of those cassette adapters that was originally for playing a Discman (portable CD player) in the car. It basically looks like a cassette tape with a cord sticking out that you plug into the headphone jack.

Wednesday, December 24, 2008

Last Minute Gift: Bottlecap Magnets

I'm going over to my parents' house tonight for Christmas Eve Dinner and opening presents. As I was packing up the gifts to bring over, I realized that I had at least two gifts for both Mom and my brother, but only one gift for Dad. So, being the crafty girl I am, I decided to whip up these magnets as a last minute gift. The jewel of this collection is the Mountain Dew bottlecap from a special edition aluminum Mountain Dew Bottle (I have two more, but one is dented and I can't find the other one).

All you need is some hot glue, small magnets, and some bottlecaps. I also used an old mint tin covered with some scrapbook paper as the gift box. First you'll need a layer of hot glue so the magnet sticks up above the lip of the cap...

You'll need to wait for the first layer to dry, then apply another layer of hot glue and put the magnet on. (I usually work on 3 caps at a time, and by the time you're done with the first layer of the last cap, the first cap's layer will be dry enough to apply the second layer)


And voila!...Bottlecap Magnets!


If anyone wants these Boylan's Birch Beer magnets, I'll be putting one set in my Etsy shop soon...and the other set I'll do for a New Year's give-away. Stay tuned!

Wednesday, May 7, 2008

Repurposed men's shirt to toddler dress

Okay, I'm supposed to be buckling down and cleaning my house right now, but I need to post my most recent craft. I'm so proud of myself...I actually made a dress today. Granted it's not like I made it from scratch. It's more of a "repurposing" of a previous garment (specifically one of my husband's old button-down shirts). I got the idea from this link.

I decided to do something different witht he sleeves and crocheted them instead of sewing them. Here's a detail shot of the crochet embelishment on the front.


Darn, I forgot to get a picture of the back! And I already gave it away to my friend Rachel for her little girl. I'm sure I'll get to take pictures of it on her sometime. And I have plenty more shirts to use to make more. This would be a good type of thing to put in my future Etsy shop. If anyone is interested in one, give me a holler.